10/03/2019

My MOUNTAIN GOAT activation


In 2018 I ended with 950 activator points, so Mountain Goat (MG) status was coming in sight ...

Surely I could get to 1000 points during my traditional SOTA Winter Tour, where the extra bonus points quickly add up.

Now crossing 1000 points would not be too difficult, but I wanted to land on EXACTLY 1000 points.
As I prepare all my trips in a spreadsheet, it was not too difficult to make a schedule that would get me to MG on the highest  summit in Belgium, ON/ON-001, Signal de Botrange.

So I ended up with this list :


  • ON/ON-010 Baraque de Fraiture       11 points
  • ON/ON-011 Sur Clair Fa              11
  • ON/ON-009 Iverst                    11
  • ON/ON-024,Bois du Tour du Coo        2
  • ON/ON-025 Burteaumont                4
  • ON/ON-001 Signal de Botrange        11

So this made a nice total of  50 points !

I decided to do three summts on March 8, and the remaining 3 on Sunday March 10.

I had  booked the same AirBnb place as last year, near Aachen in Germany, because I also wanted to do some shopping and visit the city. Now what could go wrong ?

On March 8, I  left my QTH in Ostend at 05:45 local time. Traffic went really smooth this time, the roads were a little wet and I had some light drizzle ... no problems so far.

But when I came to within 10 km of my first summit ... it started snowing !
First a little snow .. then  more ... then more ... then even more !
Driving became rather dangerous, and by the time I arrived at the parking lot for ON/ON-010 .. it had turned into a nice "winter wonderland" ...

ON/ON-010 Baraque Fraiture


I could have used one of those small pop-up tents as suggested in this Reflector thread http://reflector.sota.org.uk/t/thoughts-on-pop-up-tents/18804
[NOTE : in the mean time I have bought the one as suggested by Peter, ON4UP]

This time though, all I had was some umbrellas .. so I improvised a "two-umbrella-and-a-chair" winter shack.


By the time I had it all set up in the snow ... it stopped snowing as abruptly as it had started !
Anyway, I had a nice cold but dry activation, hi.


Only problem, the chasers must still have been asleep, and so did the propagation .. I could only attract 7 callers. To think that I once had 100 QSO's in just one hour on this summit.

My last caller was G4OBK. I had been calling CQ in SSB, but Phil called me in CW.
A nice feature of the KX3 is that you can instantly reply to a CW call without switching to CW mode. Just grab the paddle and go ... the TX frequency and sidetone etc, are all taken care of.
After the CW qso you can just contine in SSB as before without touching one button ... nice !
(only one thing : the filter bandwidth will remain SSB-wide ... but not a problem with Phils' signal)


So after that, I packed up and went to the next one.


ON/ON-011 Sur Clair Fa

There was also some snow on this summit, but at least it had stopped snowing, and I could set up without the use of any umbrellas. It was still cold though, around freezing point.


The chasers were there and the propagation too .. 22 qso's in the log, and a nice S2S with Jan, OK2PDT.

After which it was time for the third one for the day ...


ON/ON-009 Iverst

Just everythin was better here ! 
There was no snow, and I could find a nice place to sit in the sun.
And even more chasers now .. I got 27 in the log !

On the right you can see my endfed antenna, length 9.15m. The top is around 5.5m on the fishing pole (I broke the finest tip in EA8/GC and left it there , hi). The 9:1 UNUN is around 1m above ground, and also the 4m counterpoise wire is hanging at 1m over the bushes on the right, so you could also call it an OCFD or windom.


And so day one ended with 33 points nearer the MG target, only needed 17 more !

.
ON/ON-024,Bois du Tour du Coo

This summit is only 2 points , and gives no winter bonus points, but I had to do it to get to my goal, exactly 1000 points. Ironically, this low point summit is one of the very few in Belgium where you actually have to walk and climb a little.

I parked again near the cemetary, position 50.393367, 5.873915.
The entry to the track has changed a little ... the speed sign that used to say 50 km/h is now indicating that you are in 30 km/h zone. The track starts just opposite this sign, and is also posted on the SMP by G4OBK..


[Note: in case you downloaded the track by ON6ZQ, which used to be on the SMP site, and started near the restaurant, that is now private property, so you can no longer use it. I see that Christophe has already removed this track from the SMP]

After some 20 minutes, I got to my favourite spot, at pos 50.389985, 5.867302
There were high winds here, and it would become a real storm later on.
I quickly set up, but after a short time it began raining. I hadn't taken any umbrellas, so had to keep myself dry with only a raincoat, and protected the rig with a plastic bag and a towel.
I did take a raincover for my backpack, so all my other stuff was kept dry too.
I had to keep the activation a bit short, but still got 23 qso's in the log, including a S2S with Markus, IN3ADF. Not bad.
With all the strong winds, no time to lose, and so I went to ...


ON/ON-025 Burteaumont

No snow or rain here, but even stronger winds, and not much protection .. so I tried do do it all as fast as I could, and keep a bit warm ...


After only 15 qso's, I had enough of it, and went back to the car for my lunch and some hot coffee ;-)
And then it was time for the "grand finale" ... my mountain goat activation. 


ON/ON-001 Signal de Botrange

Again no time or urge to walk far away from the car to find a nice operating spot, the wind had now gotten to a force 7 to 8 gale, and I tried to stay away from any trees ... so I just set up in a corner of the parking lot, at position 50.501176, 6.093912
The whole parking lot was also muddy, and it was cold, so not a very glamorous place for this special occasion, but it was what it was ...


As you can see in the picture above, the wind almost blew my fishing pole axay, the antenna was  hanging only a few metres above ground. And  I found no better place for the UNUN  than to tie it to my chair, just behind my back.

I was very curious to see (or rather .. hear) who my fourth caller would be.
The luck was all for Don, G0RQL, so I had a bit of a longer qso with him, to thank him for all the previous qso's we had, and for making me a MG.

After a while, drizzle started ... so had to grab some bubble plastic and the towel again ...


Anyway, my activation went well, with 21 qso's in the log. 
This was not the weather to celebrating my MG on the summit, so I did that in the evening with a pizza and a good beer !


Some statistics about the last five years that took me to MG

Started SOTA on July 15, 2014 - Became MG on March 10, 2019
Activated 195 summits, of which 125 were uniques
Activated in 19 regions, in 13 associations
Have 93 summits "complete" (activated and chased)
Used 11 different prefixes or callsigns
Made 4347 activator qso's , including 370 S2S qso's.
Made an uncountable number of new friends !!!

Thanks to all activators and chasers out there to help me this far. I hope to be doing SOTA for a long time to come ... cu all on the summits !

73,
Luc - ON7DQ

17/01/2019

A very simple RF generator


This is a project ANYONE can build.
And it is a useful tool to have around.

I built this in a couple of hours, and then some hours to write the Arduino code for it.

The hardware

This is the really simple circuit. All you have to do is connect three pre-built modules : an Arduino board of your choice, a small OLED display and a Si5351 PLL breakout board.
When you order all the parts from China (except the box) , total cost is under 10 Euro.
In the picture I use an original Adafruit module, but for my first tests, I used a cheap Chinese clone, and it worked just as well.

Click on the image to get a larger view.


Each module just needs 4 wires to the Arduino : +5V and GND, and SCL and SDA (Clock and Data lines for the I2C bus).
Three buttons do all the work, and can be connected to any digital pin (D2-D13) you like, just make sure the numbers correspond in the code.
My connections were dictated by the physical location on the piece of perfboard, so I could solder the buttons directly to the Arduino pins without extra wires.

I did think to use a rotary encoder, but I wanted to keep it as cheap as possible, and most people have pushbuttons in the junkbox, but maybe rotary encoders are not so common.

That's all there is to it !

I found a nice metal box in a local "poundshop" (actually the box was around 1 Euro in the shop Wibra, well know to Belgian and Dutch hams, hi). It's a bit larger than an Altoids tin.
I have seen similar boxes at the known Chinese vendors for less than 1€ too.

Like it often goes, I spent more time drilling and filing the holes for everything, than the time needed to solder the parts on the perfboard.


I put a piece of (non conducting !) foam on the bottom of the box, and fixed the board inside with hot-melt glue.

There are still some shortcomings to my build : the display is sitting a bit too low in the box.
Some friend suggested I could have mounted the parts ON the lid instead of in the bottom of the box, and then maybe could have added a small Li-Ion battery beneath it, etc ...
Maybe some ideas for Version 2.0 .. but at the moment, I'm quite satisfied with the result.

I didn't see any need for a battery, since by the time you want to use the generator , your battery may have gone flat. So I chose to power the box from an external powerbank, which  is very common these days.
I use a LED flashlight which holds one 18650 cell, it can be charged with a regular cellphone charger, and also functions as a powerbank, very neat !


Here you can see the generator connected to my small power meter (see the post about it here).
The power is +13 dBm, but the carrier on 100 MHz is only about +10 dBm, so there is another 10 mW in the harmonics. For serious work, a filter should be used.


Software and "operating manual"

Making the sketch for the Arduino was really simple , thanks to code for the Si5351, made available by Christoph OE1CGS.
I found a link to his code, and lots of other info on the Si5351 on the QRP-LABS website here.
Christoph also maintains an interesting website of his own, you can find it here.

Now what to do when you have only three buttons ?
The STEP button rotates between several pre-defined steps.
I chose a number of useful steps : 10 Hz, 100Hz, 1 kHz, 5 kHz, 100 kHz, 1 MHz and 10 MHz.
Steps can easily be added or deleted in the code. Maybe later I will make them "settable" via a MENU option.
UP and DOWN buttons do just as the name says ... they put the frequency one STEP higher or lower.


After each operation, the new frequency, the step, and the power level is displayed on the small OLED display. The OLED display is used with a text-only library to save on memory. 

A long press on the STEP button brings up the MENU.
For the time being, I only have one MENU item : setting the output power in 5 steps : 0 = OFF, 1 = 25%, 2 = 50%, 3 = 75 % and 4 = 100%, selected with the UP/DOWN buttons.
Another long press on the STEP button exits the menu.

The menu code is not completely finished, I may add some other stuff and post it later.

You can download the basic version here  : go to my github page.

73 Luc ON7DQ 

20/12/2018

My IC-7300 "Big Controller" (part 1)


Ever since I made the small "Nintendo Controller" for my IC-7300 (see this post) , I have been thinking , and thinking , and thinking ... about a bigger project. I wanted to control all kinds of functions in the IC-7300, that had no dedicated button, and were too cumbersome , involving several key presses (real buttons or on-screen touch buttons).

Almost two years have passed since then, and I still hadn't started this daunting project.

BUT !

In contrast to several of my other projects, which often remain in their "naked PCB" state .. this time I had one thing : a BOX !

It is an old D-link Ethernet repeater in a sturdy metal case, not one of those flimsy plastic boxes which are now so common (I see they even sell one on e-Bay for 25£ ... hi).
Here the front, back and inner of this box.


The sturdy construction, and metal shielding looked OK for my project, so I removed all the old electronics , and mounted two pieces of PCB on the original standoffs. Plenty of space to mount a linear supply (less RF noise !), and an Arduino Mega2560 (which I may have to shield if it makes a lot of noise ...).
I did keep the original Power input and switch, and the RESET button.
The power inlet does not contain a noise filter, I may change that later, if needed.


I wasn't sure if I really would needed the powerful Mega, but I wanted to try out several things, and didn't want to have to change from a Nano or UNO in the middle of the development ... and for the small price difference, it wasn't such a hard decision.

After some thinking, and consulting a few other hams that showed interest in my project, I came to this result as a first step. A FRONT panel !
Still not sure how the end product should look, I took it the safe way .. I made a mockup panel, made from PCB material (easy to drill and file etc), and mounted it on top of the original front panel. This gives a good impression of how it will work, and it is much easier to make a change in the wiring if needed.


For the display, I could have chosen a touch screen, since the IC-7300 also has a touch screen.
But for this project, I chose a cheaper TFT display with 160x128 resolution, and a rotary encoder for all MENU actions. I guess it makes things easier if someone wants to copy or adapt my design.
The many buttons will control all "direct" actions, requiring only one press !


On the front I have from left to right :
MIC input
4 buttons for M1 - M4 (and long press should give M5-M8, or auto-repeat for M1-M4)
3 toggle switches : MIC <-> Heil headset , Straight Key <-> Paddle for CW, the 3rd switched not decided yet, I just had space for another one , hi.

Then come 8 smaller buttons for several functions, the red ones would be a PF1 and PF2 (Programmable Functions, selectable via a settings Menu)

The black ones would be : band up , band down, cycle the band stacking registers, select power in steps 5 10 50  100W (powers settable via menu), TUNE (for using a manual tuner or external autotuner), USB out AF<>IF (for listening to DRM or using other SDR software).

TFT graphic display and rotary encoder for all MENU control and selection
I intend to use it as follows
short push = change display mode. Some ideas : analog S-meter, CW decoder,  other meter readings, the actual set parameters, time and temperature, ...
A long push on the encoder button would enter the MENU
Rotate left or right to make a selection.
Again a short push = go back one level.
A long push would  exit the menu completely.

And finally, a switch and two 3.5 mm connectors for a Heil (or other brand) headset, the switch near that connector then selects headphones or external speaker (or maybe just external speaker ON/OFF, and leave the headphone audio on all the time, not decided yet).

This is the back of the front panel ... no wires attached, so still a lot of work to do before I can even start the programming..


Now I still have to put some connectors on the back panel, where I will have lots of connectors for CW Paddle and several mechanical keys (I use a straight key, a Bug and a Cootie for SKCC operations) , CI-V to the radio, MIC to the radio, speaker input from the radio, external speaker output, input for a foot pedal, and maybe more ...

UPDATE 2019-09-23 : Connectors

I did put the connectors in the box in December 2018, but found no time to take a few pictures, so finally , here we go. Viewed from the inside, it looks like this.


From the outisde, these are the planned connectors, from left to right :

Mains power, COOTIE, BUG, Straight KEY, Paddle and KEY out to rig KEY input. Will all be wired in parallel, function will be switched in software like in my previous "Nintendo" controller.

Then come SPEAKER OUT, SPEAKER IN* from RIG, and the CI-V connection.

* I may change the speaker input to a fixed level AUDIO IN from the 13 pin ACC connector, so to have a fixed level for a CW decoder. Then I will have to include a seperate audio amplifier in the controller .. have to think about that ....

Finally there is a connector for a footswitch and the output to the RIG's MIC connector.
Maybe this can also be done via the ACC connector, so that I can continue to use the standard hand mic or a desk mic..


Standby for part 2, where I will describe all the wiring, Part 3 will then describe the Arduino code.
Anyone wanting to help "thinking", be it hardware or software, please contact me on my QRZ.com address. This will be a project for next winter (2019) I guess ...

73,
Luc - ON7DQ

11/09/2018

SSST ....

Or "Short Sauerland SOTA Trip"

Since I reached over 900 activator points with my Friedrichshafen trip ... I couldn't resist to throw in another short trip to the place where SOTA began for me : the Sauerland region in North Rhine-Westphalia.
More info about the area : https://en.wikipedia.org/wiki/Sauerland 

So I did a 5 day trip from 6 - 10 September, keeping the motto : one summit a day keeps the doctor away ... and it would bring me another 34 points closer to Mountain Goat fame and glory ...


These are the summits I activated


Day 1 : DM/NW-194 (Heidkopf)

I started in Ostend at 05:30 to avoid traffic jams around the big cities .. and I was quite lucky, I arrived more or less on time at the parking space for Heidkopf.
I chose to ascend this summit from the Hasley Hütte, just south of Olsberg. Parking spot  51.343405, 8.490161.

The track is fairly easy to follow, still I made a few navigation errors, hi.
After removing my errors, I uploaded the track on the SMP site.
https://www.sotamaps.org/tracks/summit/DM/NW-194


It has a couple of steep places, but all in all it is a nice walk of around 1 hour, at the end you will find a lookout tower near the summit. The tower is in the AZ, so I set up my station on the lookout platform. The lookout cabin was locked, it would have been a nice shack ...


Since it was midday by then, I first had a snack ... and then started calling CQ ... 15 QSO's later it started raining :-(


So I had to pack and run ... and the rain really started pouring !
This time I made no navigation errors, but one hour later I was soaking wet when I arrived at my car ... so far for day one. I hoped that I didn't catch a cold, or I would need a doctor after all ... hi.

I rushed to my hotel in Willingen, and the nice pool and sauna there made me quickly forget the bad weather outside.

Day 2 : DM/NW-187 (Hoher Eimberg)

More bad weather was predicted for most of the day, so I did a visit of the Willingen Brewery first, and got a nice beer mug and tokens for two free beers .. to be enjoyed after my activation of course ;-)

My WETTER.COM app said it would clear up in late afternoon ... so around 15:00 local time, I drove to the parking spot at the end of the road with the appropriate name "Zum Hoher Eimberg", GPS position :  51.303752, 8.603395. Just around the corner to the right has a few more parking spots.


It's only a 20 minute walk to the summit, and you won't need a GPS to find it.
But I posted my track on the SMP for those that want it :
https://www.sotamaps.org/tracks/summit/DM/NW-187


The activation went well, but there was a cold wind, and at the end it started raining again ... so after only 17 QSO's I had to pack up my stuff and go back ... and have a beer !


Day 3 : DM/HE-046 (Hohes Gras)


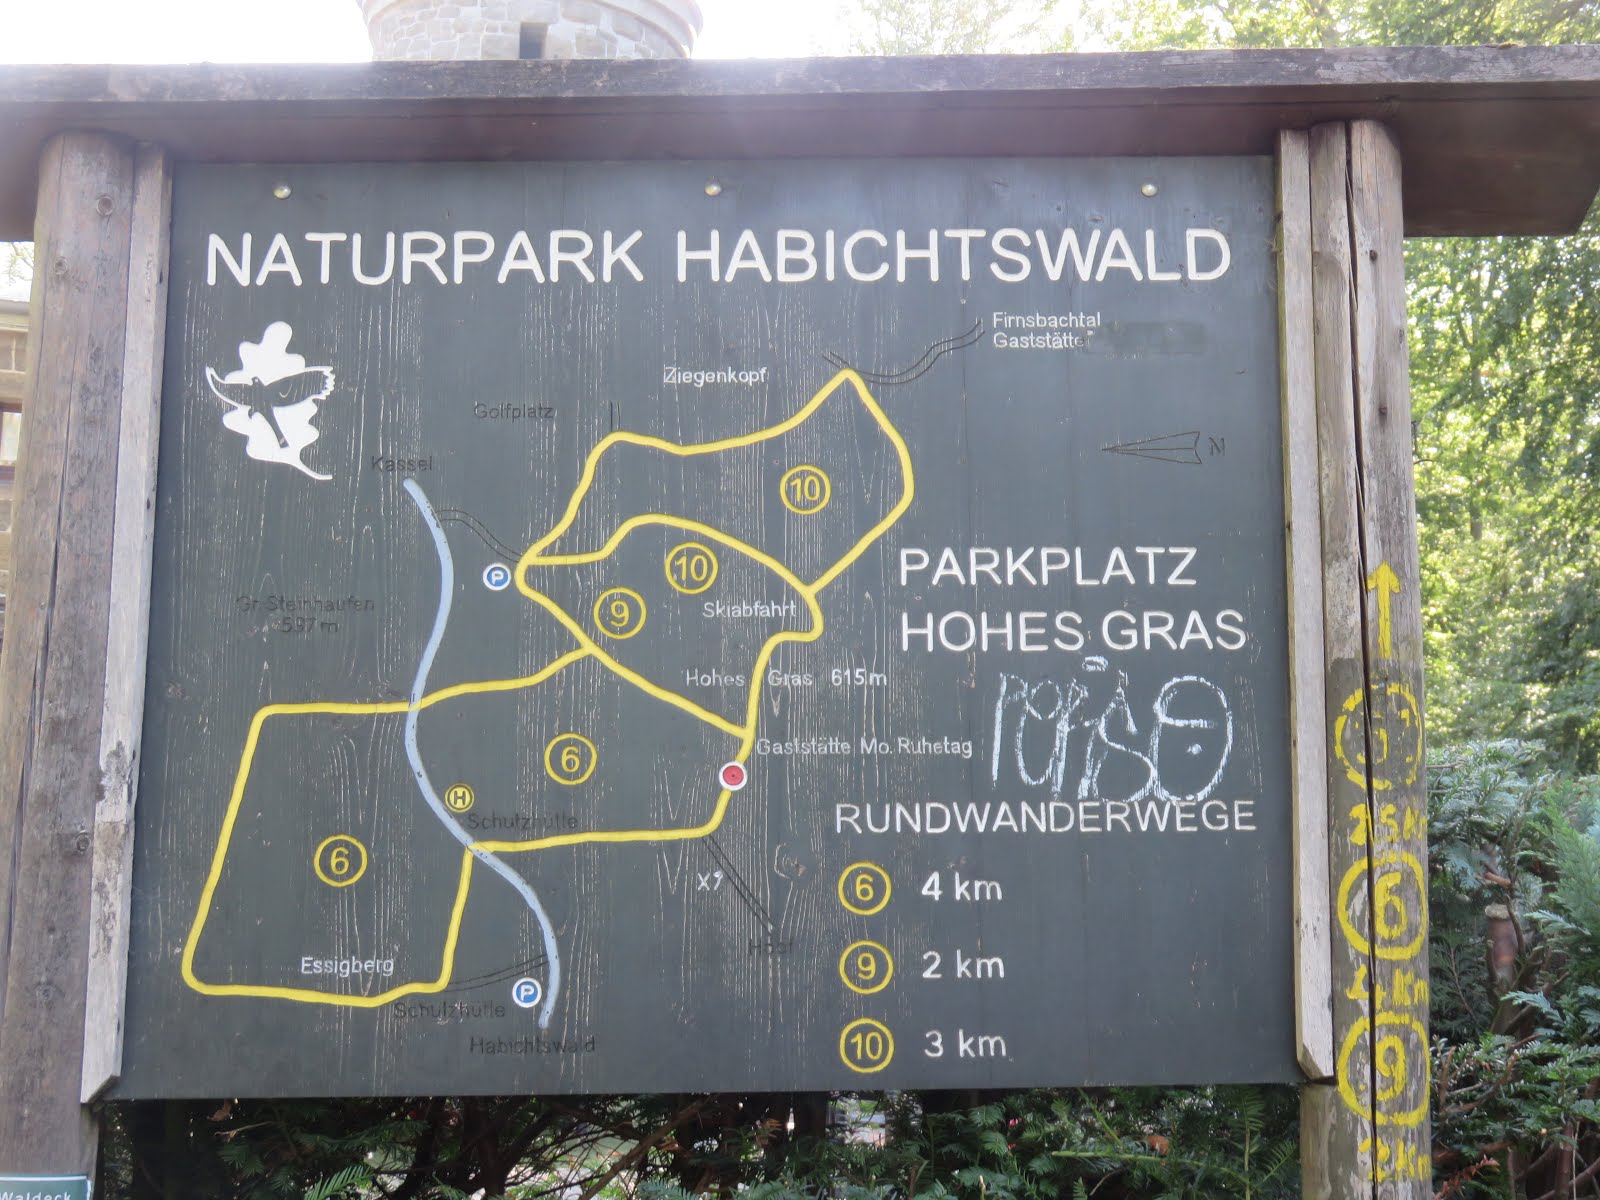
I wanted to do a visit to the city of Kassel, so I chose this easy drive-up summit for the morning.
Parking is at the "Kletterwald Kassel" at 51.306301, 9.354249, and nearby is the "Waldgaststätte Hohes Gras", where you can get food and drinks for a fair price.


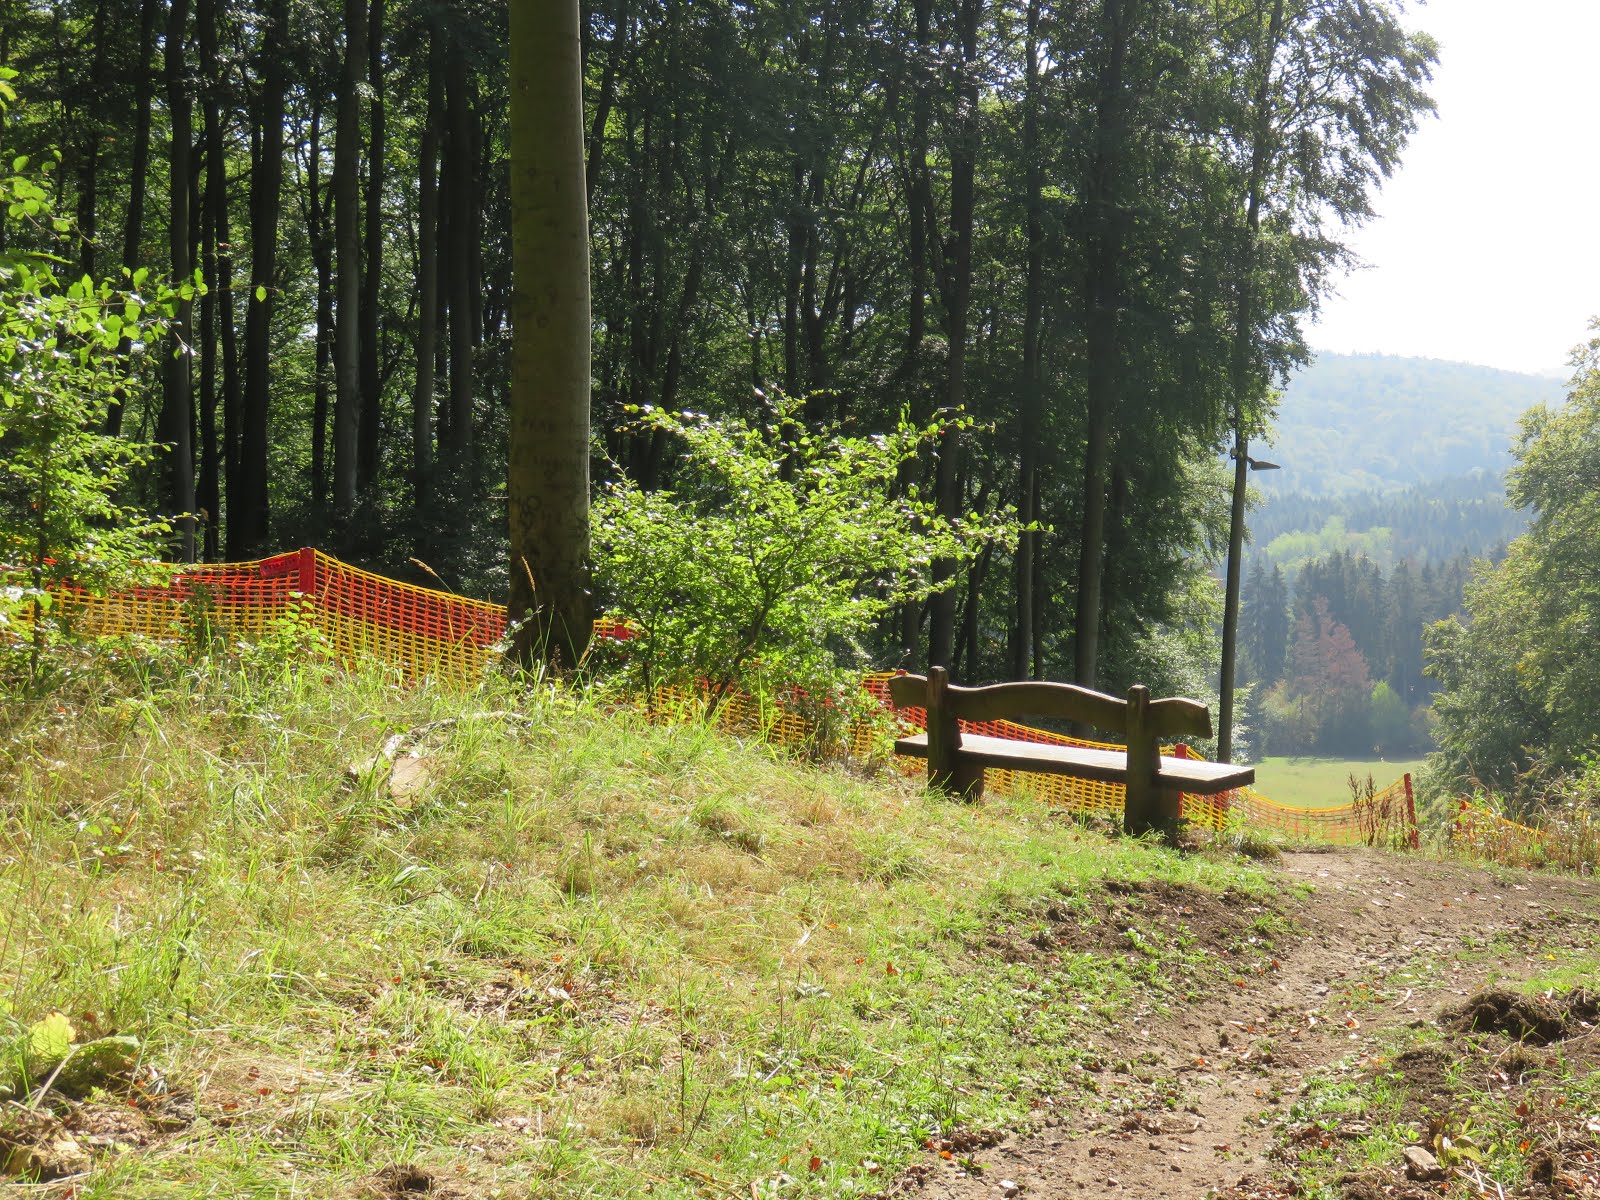
No track needed here, just walk past the restaurant, and find a nice place to set up. If you walk far enough you will find a bench where you have a nice view over the valley, but it is exposed to the sun. I chose a spot near the ski lift under the trees.


Since it was announced  that this Saturday was the OE5 SOTA DAY, I was hoping to catch a couple of S2S with OE, but as it turned out I worked ... NONE !
Still had a blast, with 36 QSO's in the log, and 13 of those were S2S !

Day 4 :  DM/NW-263 (Langenberg)

This was another new unique for me. I ascended this summit from the city of Willingen, 2 km from my hotel. I parked here : 51.288782, 8.583374 , in the street named Am Rodeland.
This is a very enjoyable walk along part of the famous Rothaarsteig (https://www.rothaarsteig.de/).


It took me 1 hour to reach the summit, the track is available here :
https://www.sotamaps.org/tracks/summit/DM/NW-263


Along the way, and on the summit, are several benches. If you set up on the summit itself, expect to have some curious looks from passing walkers and mountain bikers.
This is a very popular place, since it is the highest point in North Rhine-Westphalia.


Also some of these people make more noise than my radio or voice combined ... make sure you have good headphones which cover your ears, hi.


Propagation was very bad this day, and despite calling CQ for long stretches, I only managed 16 QSO's in total. But 3 of those were S2S, so not bad after all.


Day 5 : DM/NW-192 (Stüppel)

It was time to drive back to Ostend (a 450 km ride ...) , so I did one more summit along the road, with a short walk to the top.
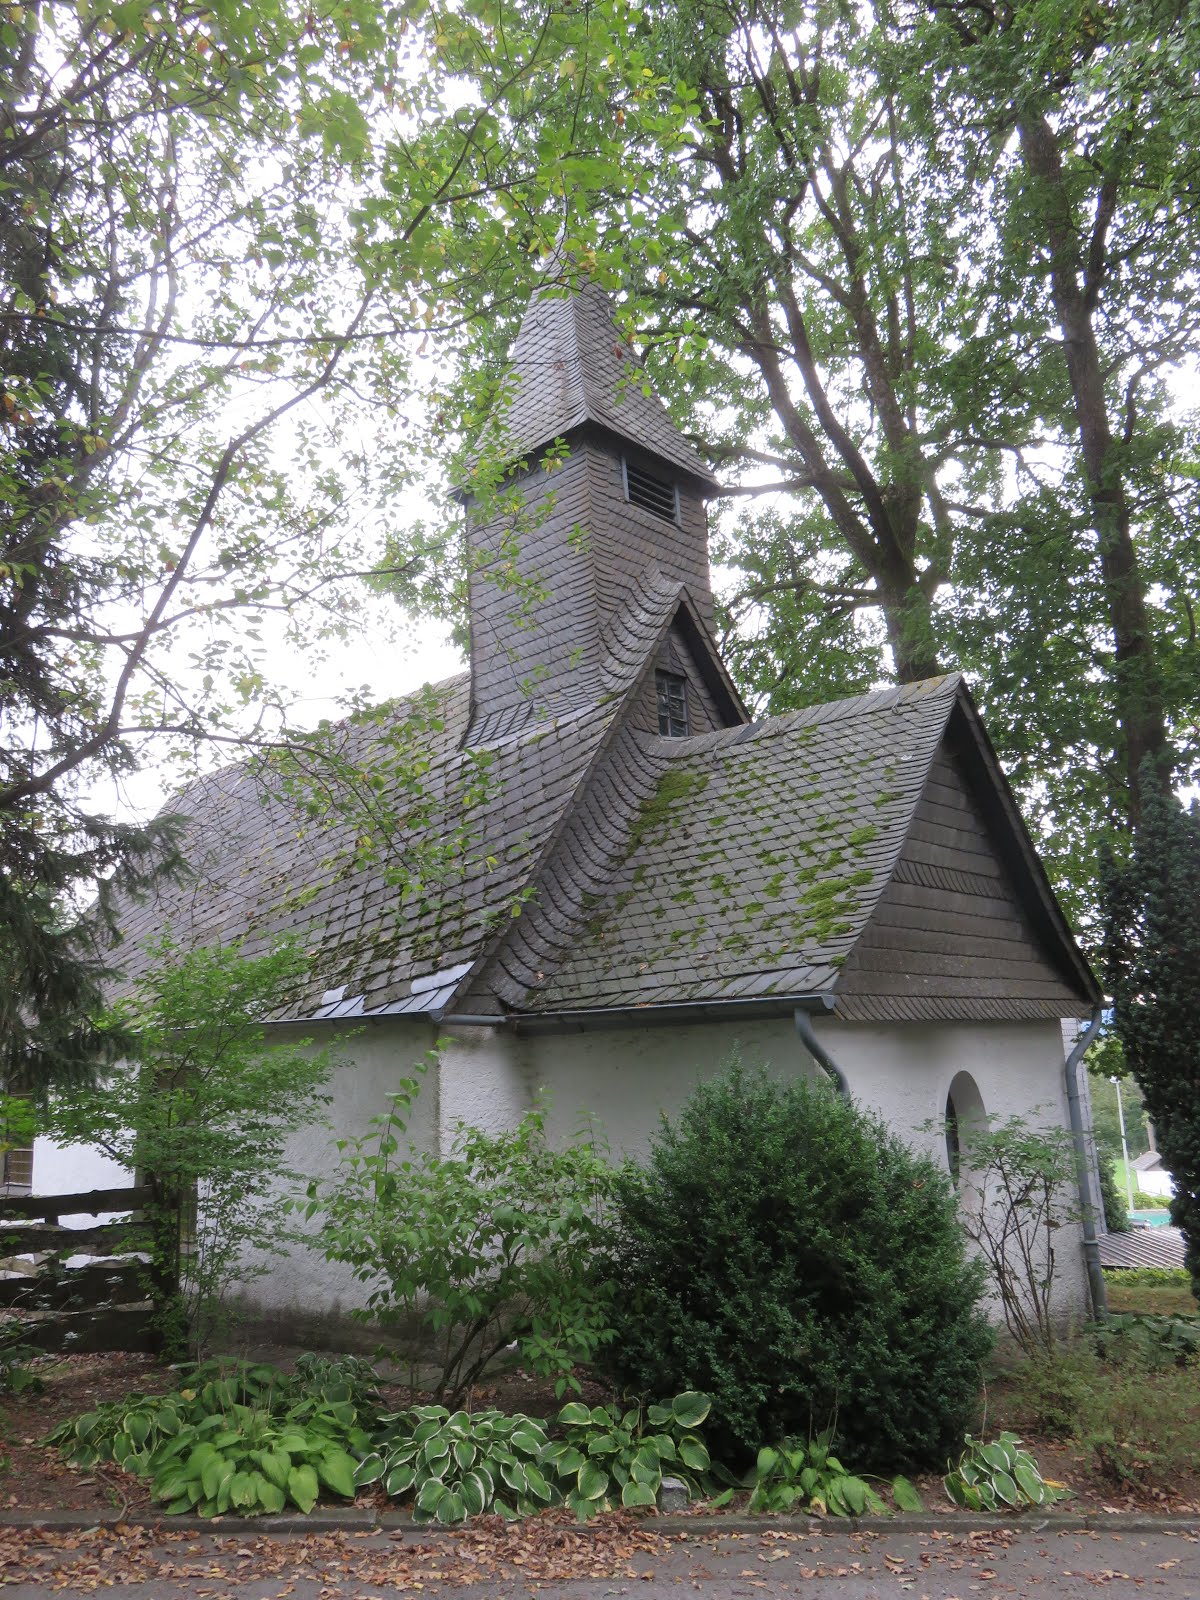
You can park at the St.-Antonius Kapelle in Wasserfall, pos.  51.303273, 8.434778


It took me just 25 minutes to reach the summit, this is the track
https://www.sotamaps.org/tracks/summit/DM/NW-192


I had to make a short activation, because of the long drive home.


With 13 QSO's in the log, of which 1 S2S with another Belgian (F/ON7QR/P) , I went back to the car and started driving ... to arrive safely back in Ostend at 17:15 local time ... mission accomplished !


See you on another SOTA adventure soon ... Cheers !

73,

Luc - ON7DQ


01/08/2018

Building a QCX 40m

While I visited the Ham Radio in Friedrichshafen, I bought another kit for a QCX QRP Transceiver, this time the 40m version. I won't describe the whole build process, see my detailed description of the 20m version that I built earlier, here.

Here just a few pictures, and the special case I put it into.
Also some additions, like extra heatsinks and an audio amplifier and a small speaker.

After mounting the IC's and capacitors ...


Finished board, mounted in a D-LINK Access Point box. Note the bigger heatsink for the 5V regulator.


Heatsink for the three BS170's, glued on with Superglue.


Preparing the cover, which holds the two external pushbuttons


Adding audio amplifier and small speaker, for monitoring without headphones.


This is what it finally looks like ... it's still a kind of  "wireless access point", since it gives you access to wireless communications on the 40m band !


A bit hard to see, but on the top left corner are an ON/OFF switch, a DC input connector, and a PTT output for controlling an amplifier.

73 de Luc, ON7DQ